
No bedroom is complete without a large full length mirror. At least not for a female, Chris doesn’t seem to mind having almost no mirrors outside the bathroom. Well these mirrors cost a pretty penny and I just wasn’t willing to pay several hundred dollars for a mirror.
The mirror in question is this beautiful industrial metal & wood floor mirror from west elm. I loved the height of this mirror and the raw materials vibe it had, and thought I could definitely Ikea hack this! I browsed through the Ikea catalogue for their floor length mirrors and found the Hovet mirror would be perfect for this project and at a fraction of the cost! (You can find all the materials and costs used in this project at the end of the post)
There are 3 main steps to this project:
- Spray paint aluminum frame
- Cut and finish wood details
- Glue wood to mirror
Spray painting the aluminum frame
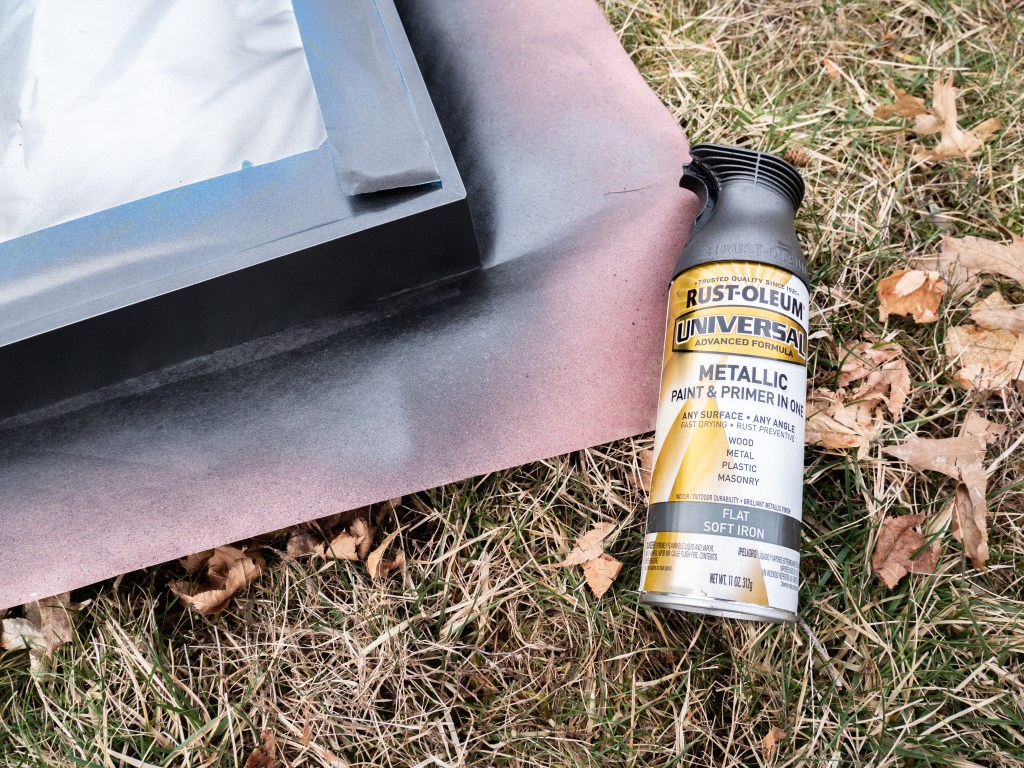
First thing first is to prep the mirror to be spray painted by using painters tape and some plastic or paper (whatever you have on hand) to cover the mirror. If you do get some spray paint on the mirror, it comes off easily with some mineral spirits.
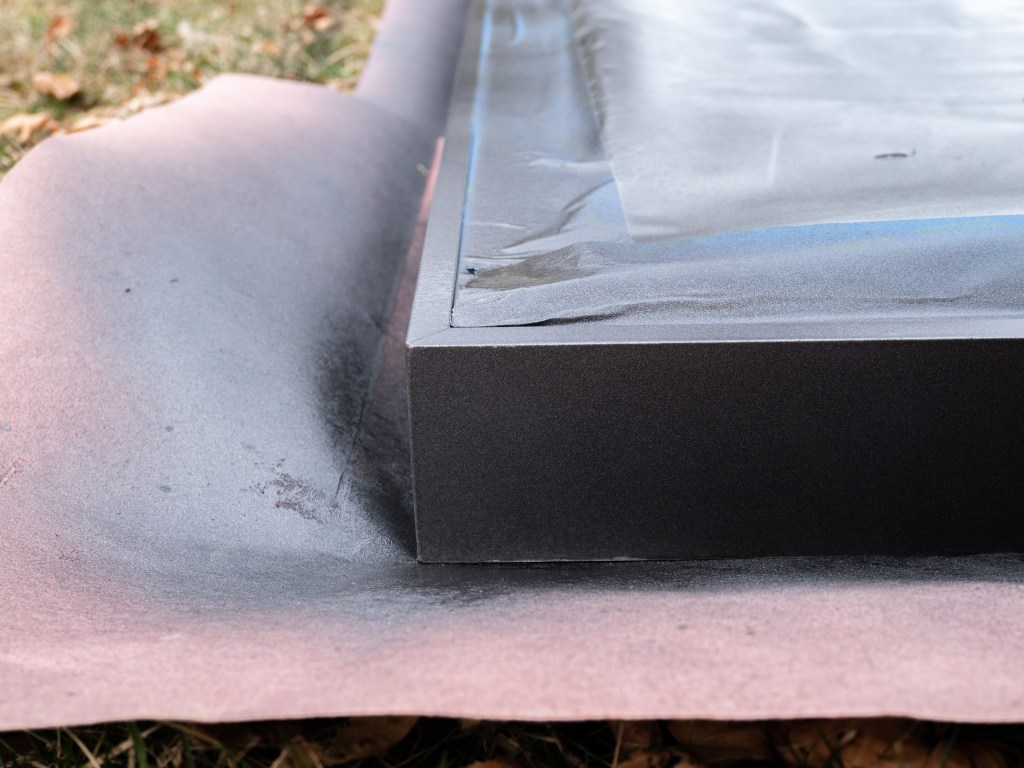
Because we are spray painting metal, it’s important to make sure you either use a primer or a spray paint and primer combo. Rather than choosing a flat black spray paint, I wanted the frame to have some texture, so went with the soft iron colour. I spray painted the whole frame using several light coats to ensure a smooth and even finish. In hindsight I should have propped the mirror up on some blocks to better access the edges.
As an extra precaution, I also finished it with a clear enamel to make sure the paint would stand up any moving or puppy curiosity.
I gave it 24 hours of dry time, and to give it some time to off-gas outside, before bringing it inside.
Preparing Wood Details
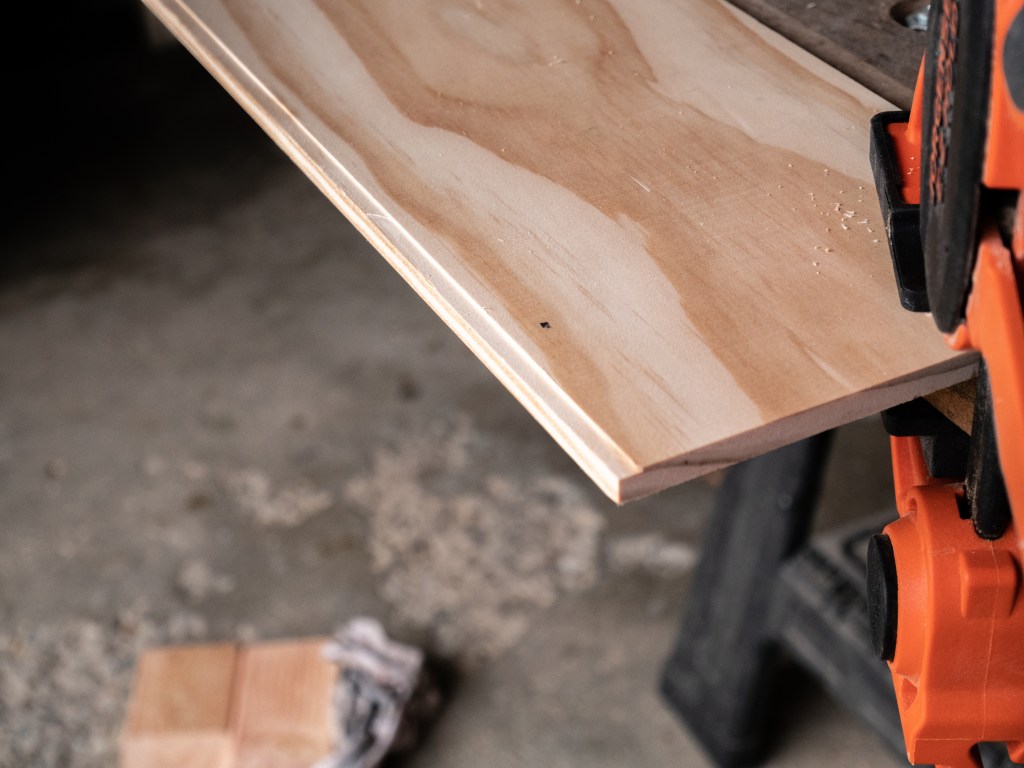
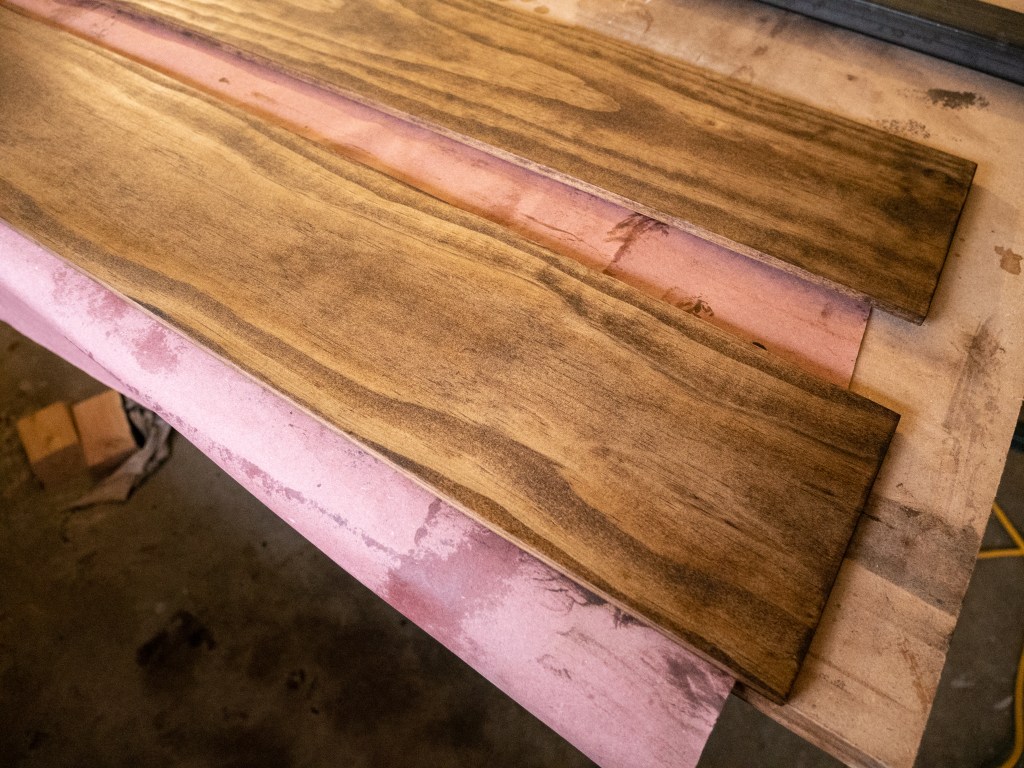
To make sure the wood boards were as flat against the frame as possible, I found the thinest wood boards I could find at my local home improvement store. I also opted for a slightly wider wood piece than west elm mirror because I liked the look.
Cut the boards to fit inside mirror frame, so you can still see the frame to the right and left of the boards. You can have the boards cut to the length you need at your local store, or at home if you have the tools.
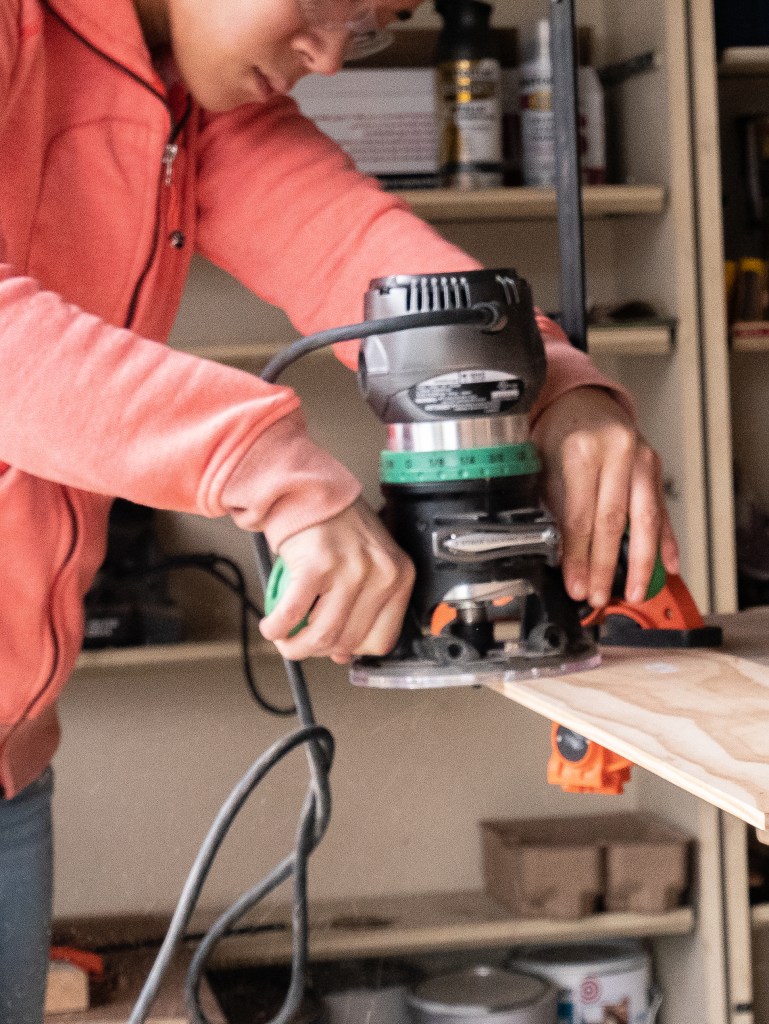
An extra step I took, was to cut a shallow rabbit onto the top long edge of each board. This allows the board to comfortably cover the top and bottom of the frame without putting pressure on the frame itself or force the board to be glued at an angle. Probably unnecessary, but I wanted the practice using the router and it adds a extra level of finish.
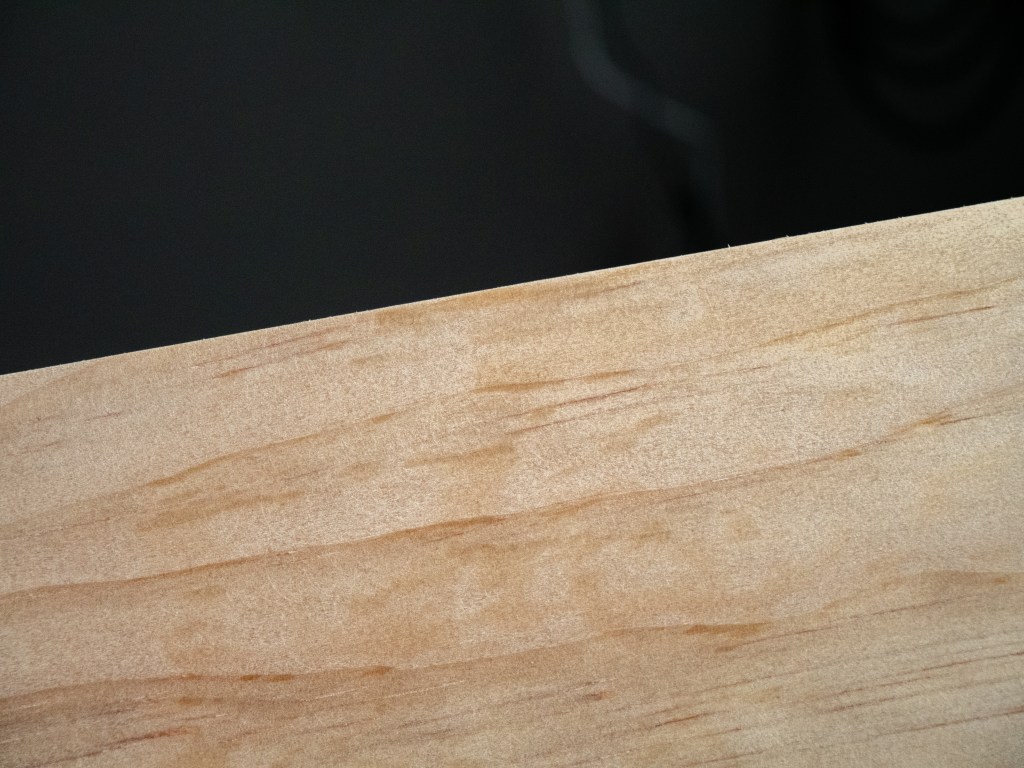
Once the boards are cut to length and you add an extra detailing to the boards, it’s ready for sanding. Because pine is so soft, a quick sand at 220 grit makes the boards nice and soft to the touch.

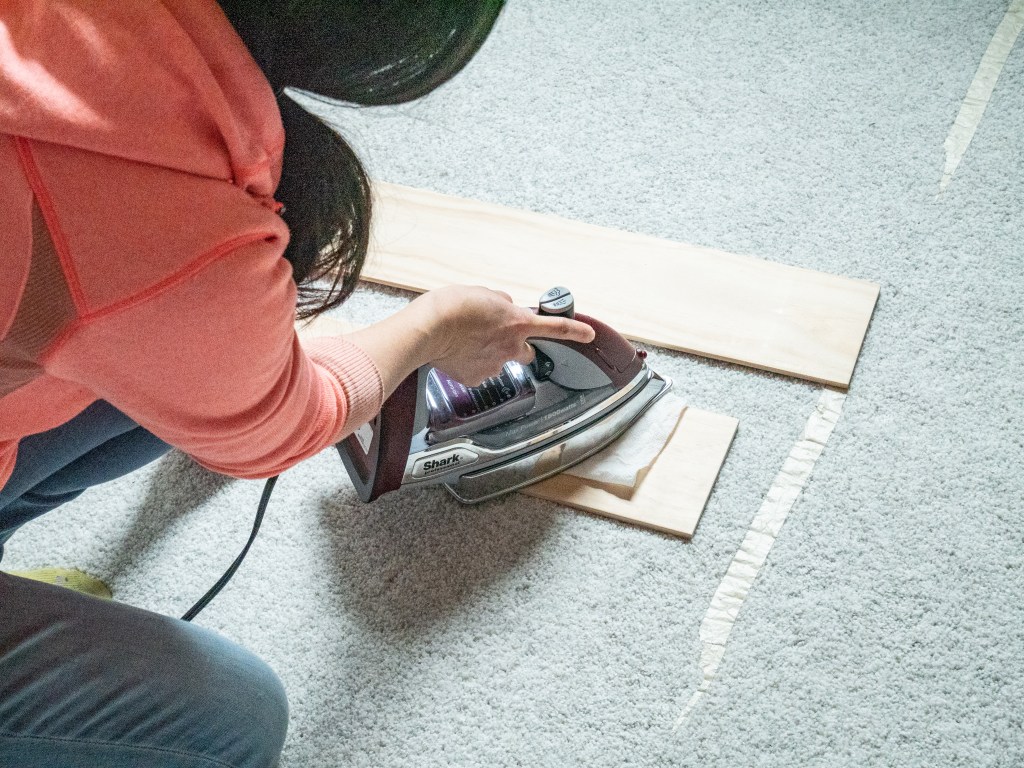
I noticed a couple of dents in the wood and used a trick I have learned from wood working to remove them. Simply place a damp paper towel on the dent and iron it and voila! dent gone.

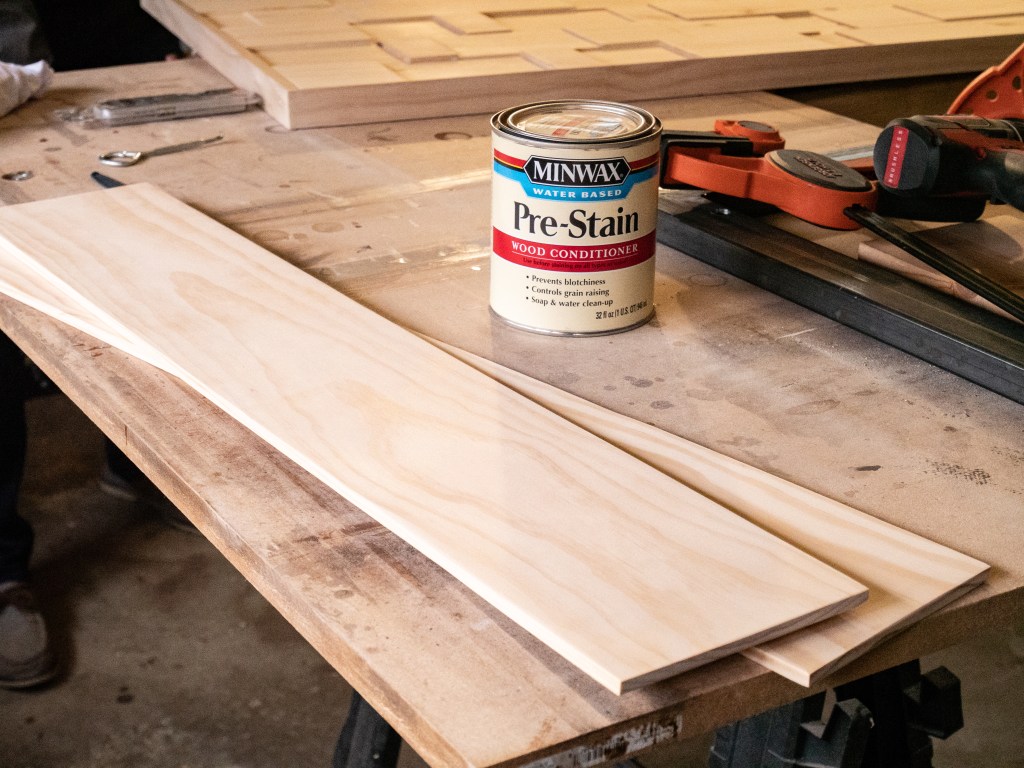
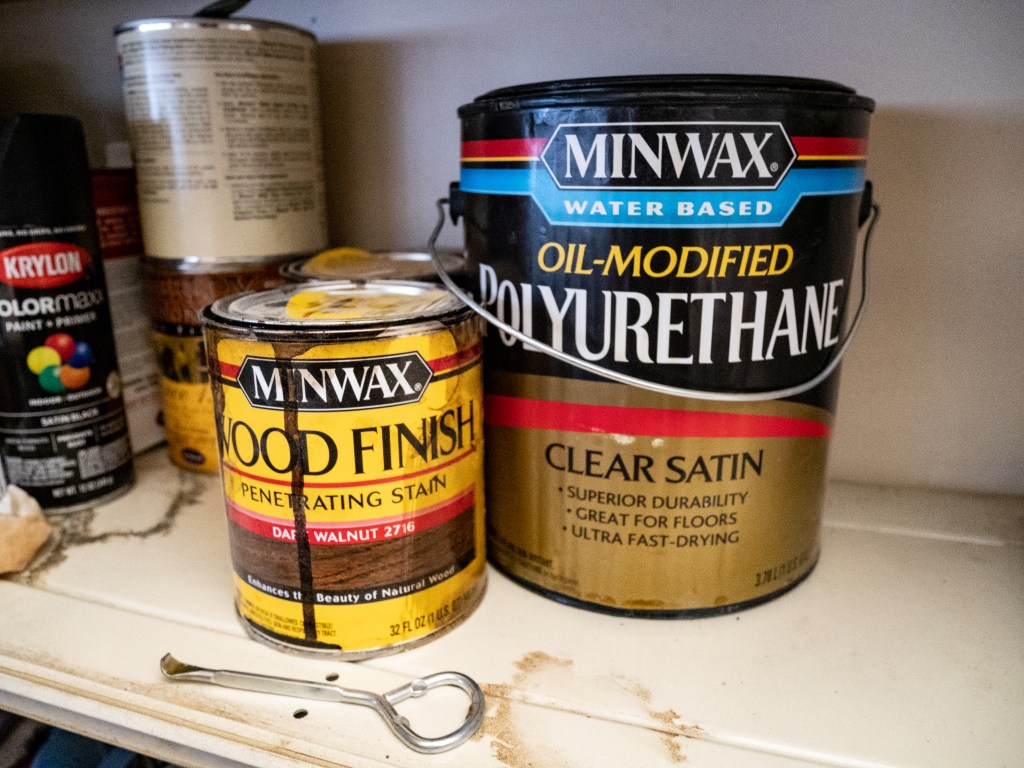
One thing to note from the previous trick, is that it might make your stain go on blotchy, so I used a pre-stain I had on hand to ensure my stain came out even.
To match out bed frame we made, we did one coat of the dark walnut stain and 2 coats of polyurethane for a smooth finish and durability. I left the back unfinished since it would never be seen, but make sure to finish all the edges.
Attach the wood
Final step is the simplest, grab a strong craft glue of your choice and attach the boards to bottom and top of the mirror. If you did the rabbit like I did on the boards, there should be a nice lip to help you align the board into place. I ended up using a hot glue gun for a strong enough hold, but in case I ever wanted to change it up, it could be relatively easily removed and cleaned off the mirror.

Supplies & Costs
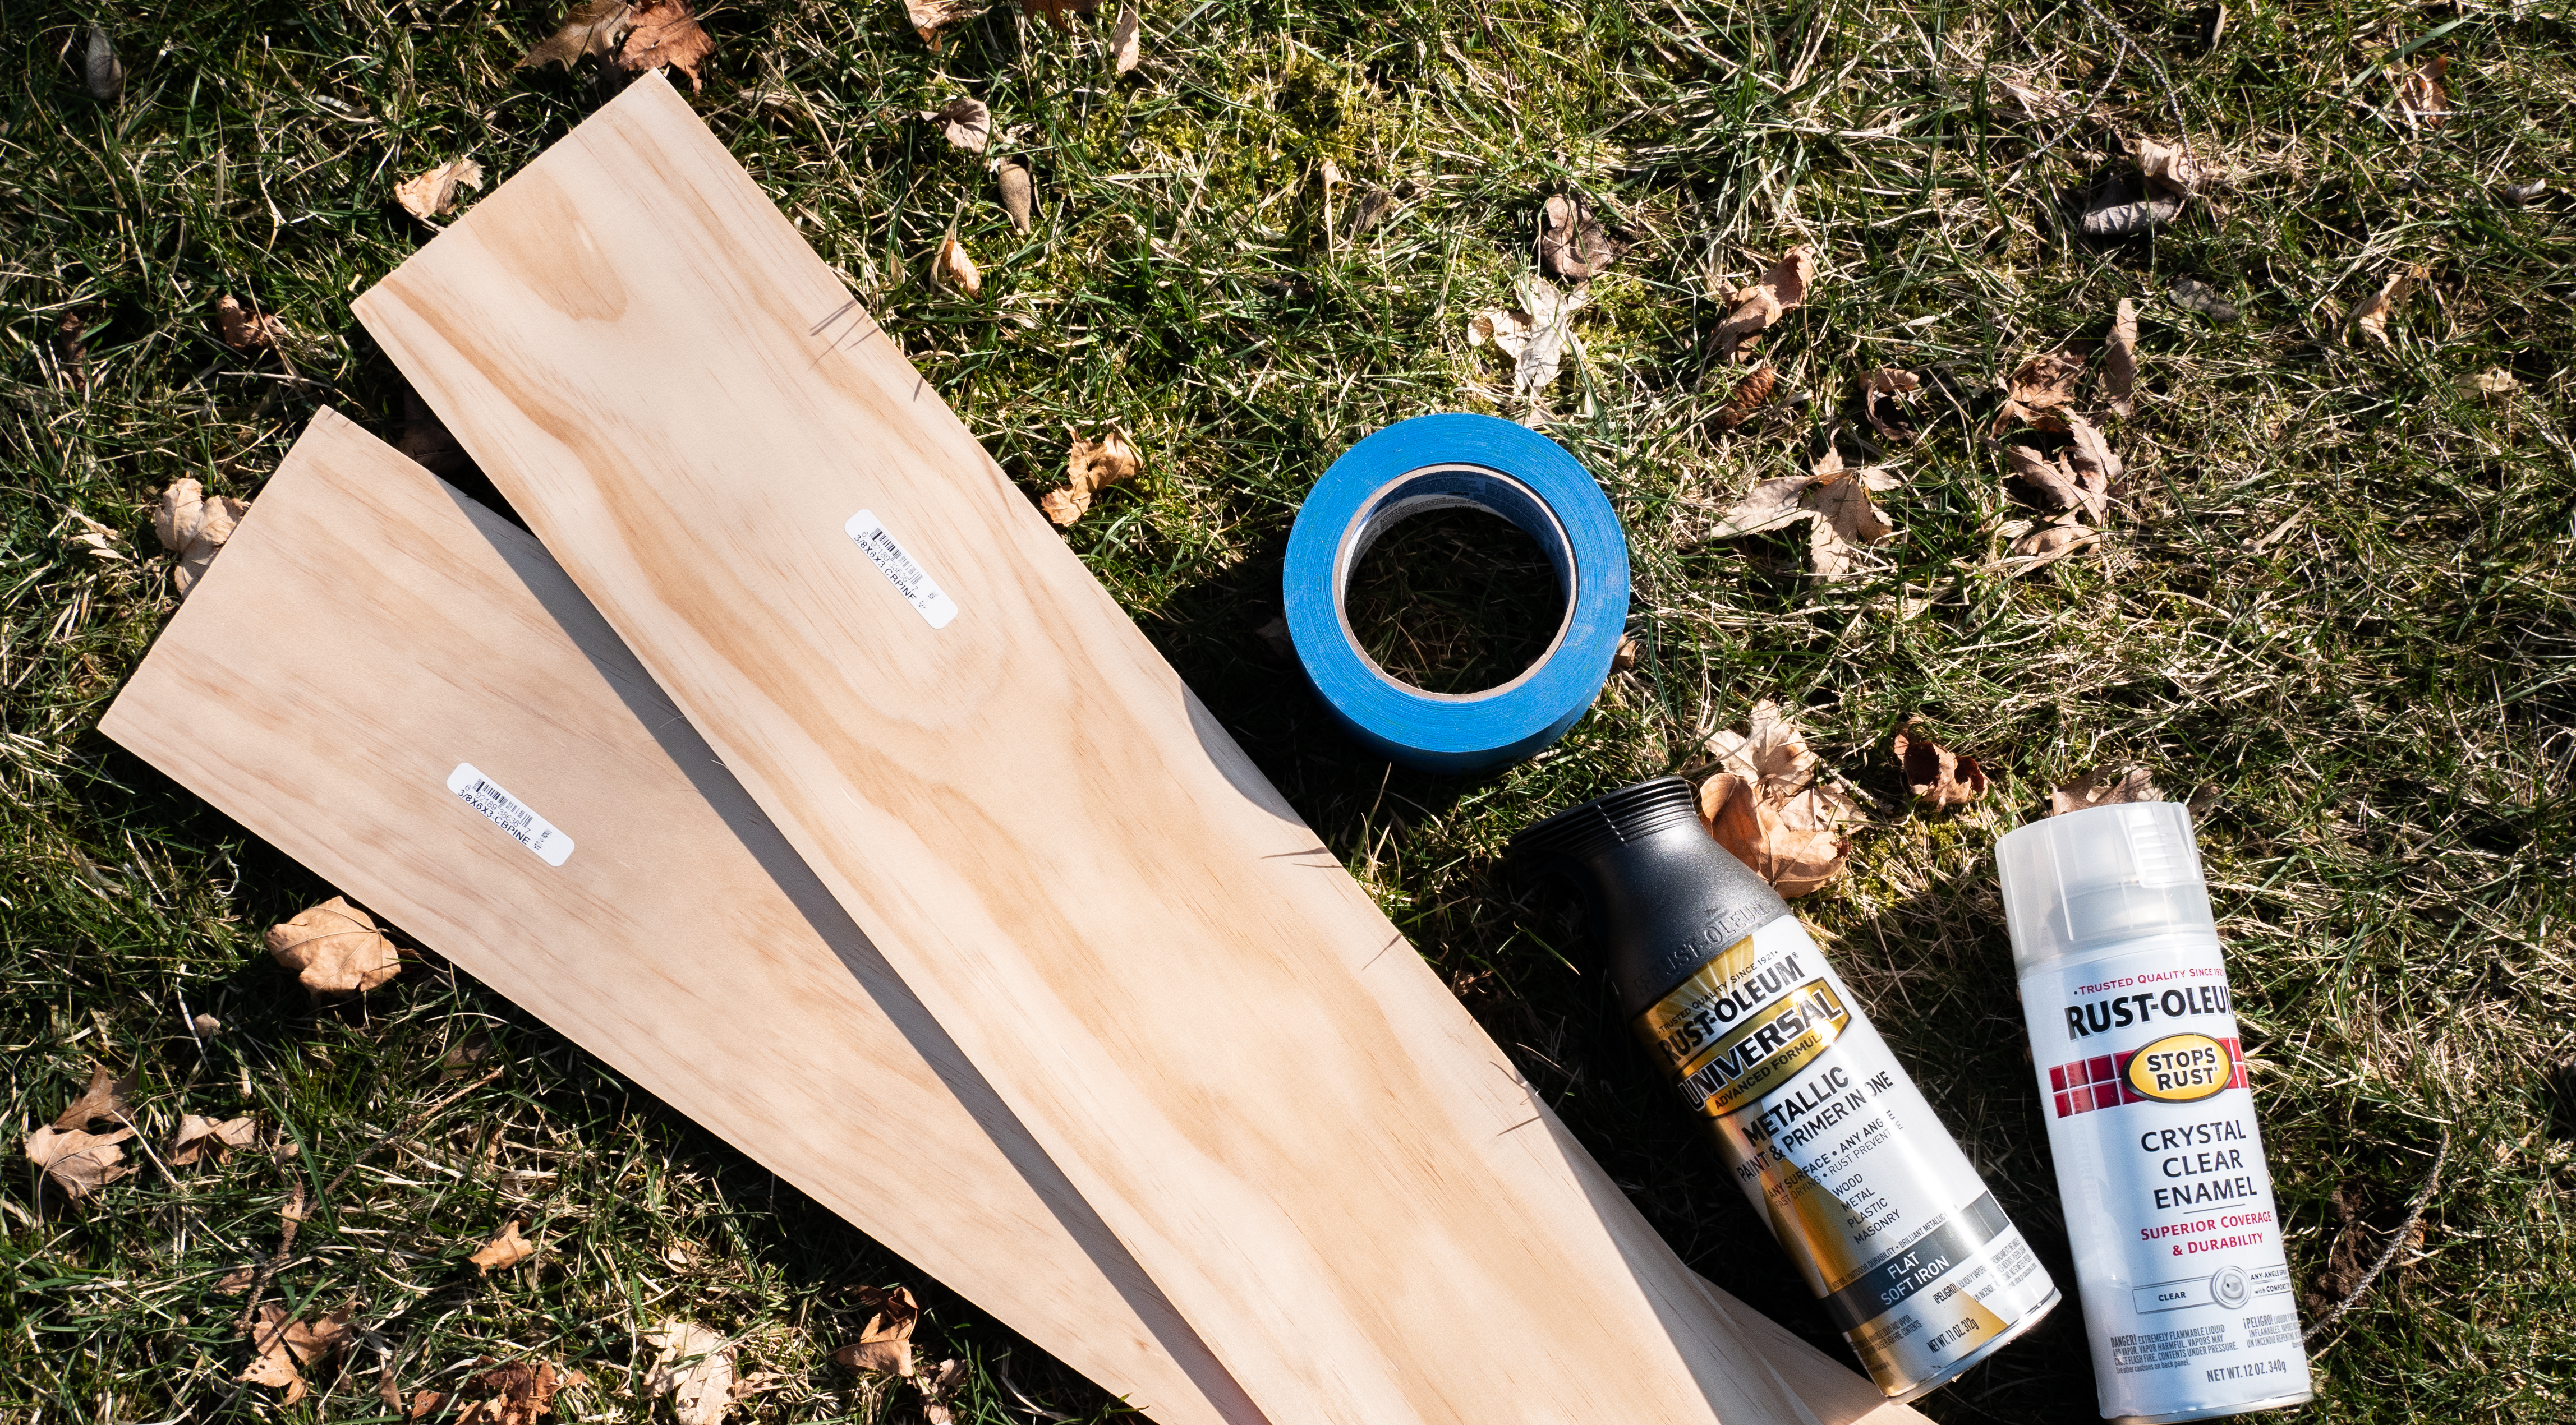
- Ikea Hovet mirror – $129
- 2 boards of 3/8″ x 6″ x 3 ft pine – $8.56 ($4.28 ea)
- Rust-Oleum Metallic Paint & Primer in Flat Soft Iron – $6.98
- Rust-Oleum Clear Crystal Enamel – $4.38
Painter’s Tape – $5.64Stain – $7.98Some kind of glue (hot glue gun, ePoxy, E6000)– $3 – $10- Optional:
Pre-stain – $12 – $16Polyurethane – $25
My total cost came out to be $148.92 (plus tax), but if I had needed to buy everything new the cost would be $202 – $220 depending on what you buy. I linked all the things I used and the prices, but many I already had on hand from previous projects as indicated by the strikethrough.
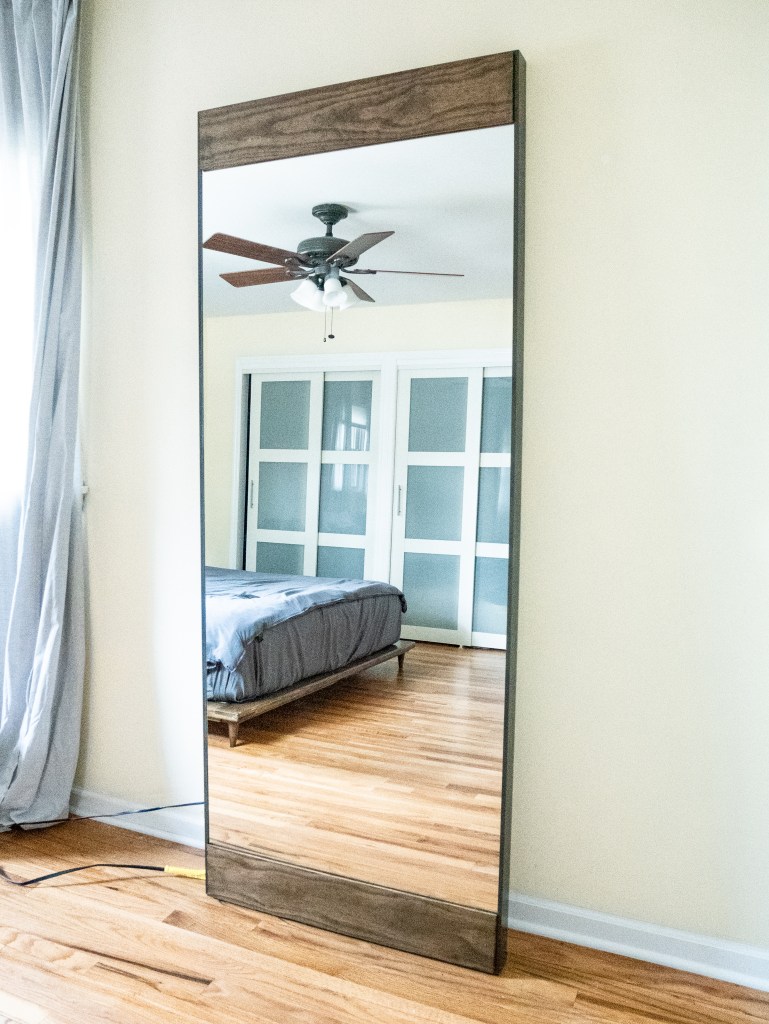
I absolutely loved the way this turned out and its perfect for me to check my outfit before heading out the door. Plenty more to do in the master bedroom before it’s complete, but loving this new addition.
While writing this post I noticed west elm as a marble version of this mirror with a brass frame that I think this DIY could easily be modified with different spray paint and some marble contact paper instead of stain! If I ever get bored of the wood, maybe I’ll just cover it with some contact paper for a fresh look.
